en
en  русский
 한국어
한국어 get a free quote

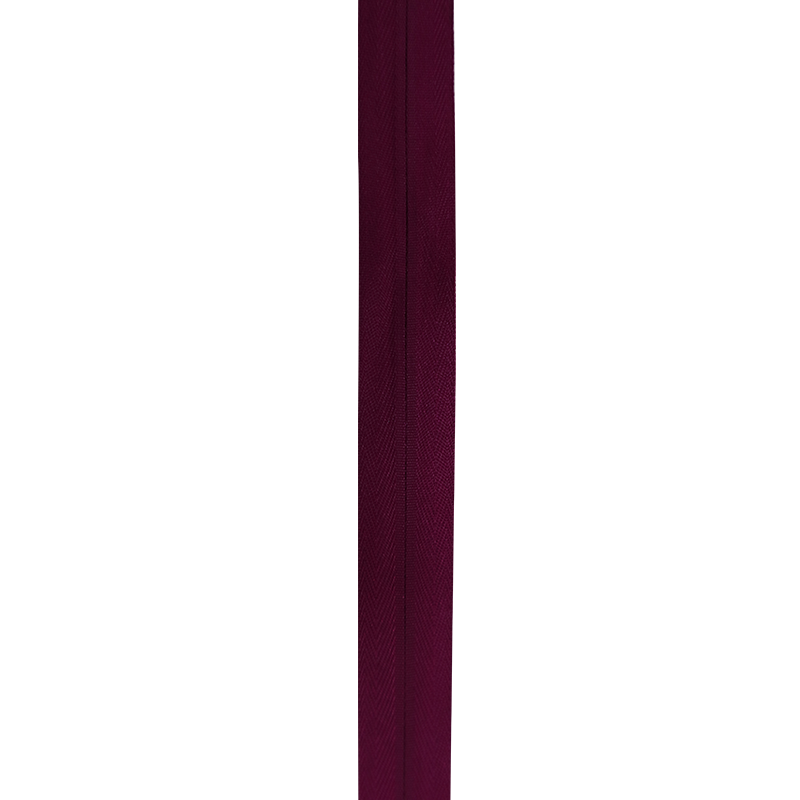
An invisible zipper chain is the definitive solution for creating seamless closures in garments, allowing the fabric to meet perfectly without exposing the teeth or tape. Unlike traditional zippers, the coils are located on the backside of the tape, hiding completely behind the seam line when installed correctly. This results in a professional, uninterrupted silhouette that is essential for formal wear, fitted dresses, and high-end upholstery.
The core advantage of using an invisible zipper chain lies in its aesthetic discretion and ease of installation. With the right technique, it can be inserted faster than a centered zipper while providing a superior finish. For sewists and designers, understanding the nuances of coil density, tape width, and heat sensitivity is crucial to leveraging this tool effectively. When chosen and applied correctly, it eliminates the bulk and visual interruption associated with standard zippers.
Content
Anatomy and Material Composition
The invisible zipper chain differs structurally from conventional zippers. Instead of large, interlocking teeth on the front, it features two continuous coils of polyester monofilament stitched onto the reverse side of the tape. These coils are curled in a specific shape that allows them to nestle into each other when closed, pulling the fabric edges together tightly.
Polyester Coils vs. Metal Teeth
Most invisible zippers use polyester coils because they are flexible, lightweight, and resistant to corrosion. Unlike metal zippers, which can snag delicate fabrics, the smooth plastic coils glide easily. However, polyester is sensitive to high heat. Ironing directly on the coils can melt or distort them, rendering the zipper unusable. Therefore, pressing must be done with caution, typically using a low heat setting or a press cloth.
Tape Width and Stability
The tape of an invisible zipper chain is usually wider than standard zipper tape, often measuring around 1 inch (2.5 cm). This extra width provides stability during installation and ensures that the zipper lays flat against the garment. High-quality tapes are woven tightly to prevent fraying and shrinking during washing, maintaining the integrity of the seam over time.
Sizing and Selection Criteria
Selecting the correct size is critical for the functionality of an invisible zipper chain. Sizes are denoted by numbers (e.g., #3, #4, #5), which refer to the width of the coil in millimeters when closed. A #3 zipper has a coil width of approximately 3mm, while a #5 is 5mm wide.
| Size Number | Coil Width (mm) | Weight/Strength | Ideal Application |
|---|---|---|---|
| #3 | 3 mm | Lightweight | Dresses, Skirts, Blouses |
| #4 | 4 mm | Medium | Pants, Jackets, Cushions |
| #5 | 5 mm | Heavy Duty | Upholstery, Heavy Coats |
For most garment sewing, a #3 invisible zipper is the standard choice. It is delicate enough to disappear into lightweight fabrics but strong enough to hold the seam of a fitted dress. Using a zipper that is too heavy for the fabric can cause puckering, while one that is too light may burst under tension.
Installation Techniques for a Seamless Finish
The key to a truly invisible result is proper preparation and the use of a specialized presser foot. While it is possible to install an invisible zipper chain with a standard foot, an invisible zipper foot has grooves on the bottom that allow the needle to stitch close to the coils without hitting them.
Preparation and Pressing
Before sewing, the zipper tape must be pressed flat. Using a low heat setting, gently press the coiled side of the zipper to uncurl the teeth slightly. This step helps the zipper lay flat against the fabric seam allowance. Never iron directly on the coils; instead, press from the back or use a press cloth. Additionally, ensure the garment seam is pressed open and basted shut at the top to maintain alignment during installation.
Stitching Process
Place the zipper face down on the right side of the fabric, aligning the coil with the seam line. Using the invisible zipper foot, stitch close to the coil, starting from the bottom and moving up. Repeat on the other side. Once both sides are attached, close the zipper to check for evenness. Finally, switch to a standard zipper foot to sew the remaining seam below the zipper stop, ensuring a smooth transition.
Troubleshooting Common Issues
Even experienced sewists encounter challenges when working with an invisible zipper chain. Understanding the root causes of common problems can save time and material.
- Zipper Bulging: This occurs if the seam allowance is too bulky. Trim the seam allowances to reduce thickness before installing the zipper.
- Visible Teeth: If the coils are visible after installation, the stitching line was likely too far from the coil. Move the needle position closer to the edge of the presser foot.
- Stuck Slider: Fabric caught in the slider is a common issue. Ensure the fabric edges are trimmed evenly and that no loose threads are near the zipper path. Applying a small amount of beeswax or silicone lubricant to the coils can also improve glide.
- Wavy Seam: This is often caused by stretching the fabric or zipper tape during sewing. Use stay tape or bias binding to stabilize the seam edge before installation.
By addressing these issues proactively, you can ensure that your invisible zipper chain performs flawlessly, providing a clean, professional closure that enhances the overall quality of your project.